|
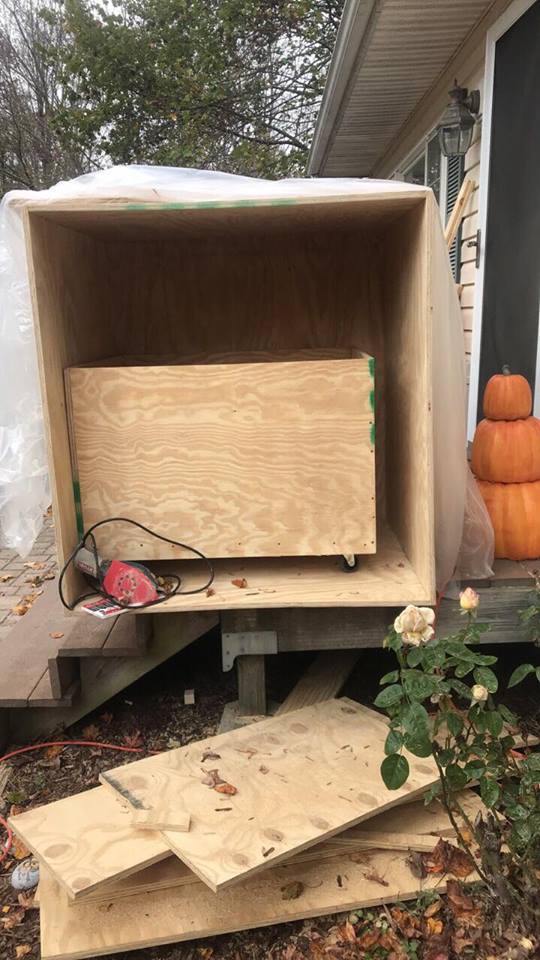
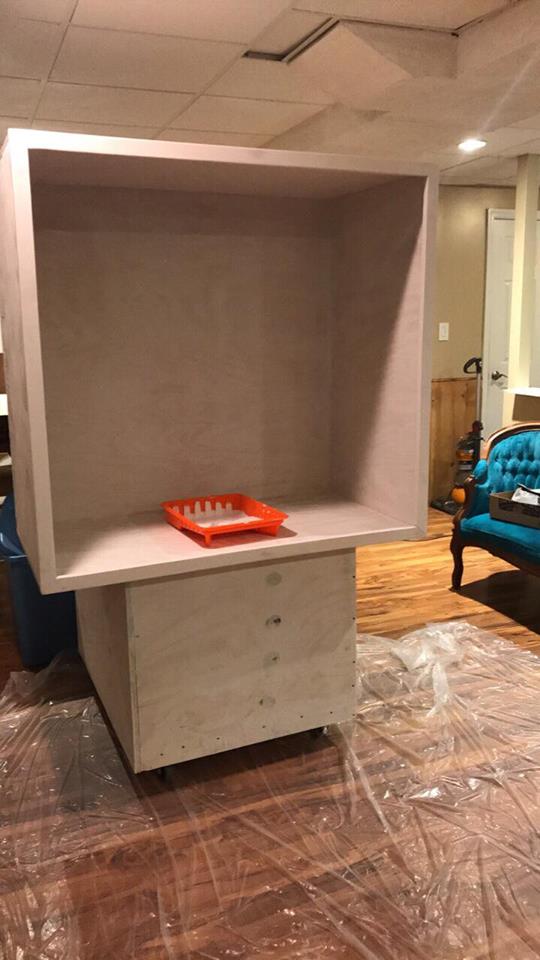
This Box Experience entry is how to overcome the obstacles if any! :)  Building the box, no wait... building this rectangle was easier than I thought it would be. While I'm not impressed that I bought blueprints for $20 for a box, it did wind up being fabulous.
SET UP AND SHOOTI have an Einstein Light directly behind my camera which is on a tripod. I shot this at f9. If you need furthers settings just message me. Here is a video of our test shoot! Click the box below!!! I will be recording the composite edit and placing it here. I should have it done by Friday sometime. The edit was not too bad. I should have definitely made the box template first but I was too excited to see the sample. SOME TIPSIf you're going to have anything hanging out of the box like a leg or arm, keep it to a minimum like 2 or 3 shots like this. It was a challenge collaging them together. Making them make sense. If there is a foot dangling be sure to add the right shadow to it. Dangling hair was not fun. You'd have to be advanced in photoshop or something. I was not a fan of the work involved in that. Have it planned out prior especially if your doing minis... Know what you're going to use prop wise! Also I told my clients that I am including the images separate. This was a bad idea! This is a composite and should be kept that way. I am offering Christmas cards for a print option. I will update as that progresses! :) UPDATE: There was a man named James in one of the groups I belong to and he suggested using a measuring tape to measure the height for the camera position and I suggest using the cameras internal grids. Good luck this has been fun so far! Link to The Box PSD TemplateIf you are doing the box experience and need the psd file. Please message me and I will happy to get it for you.
1 Comment
|

 RSS Feed